Building Your Own Flies
All photos are thumbnails, click for full size 640 x 480 images
A step by step image based tutorial
This page is a reel-slow to loader, because there's 24 "how-to" image files
Building Your Own Flies
All photos are thumbnails, click for full size 640 x 480 images
A step by step image based tutorial
 |  |  |  |
|
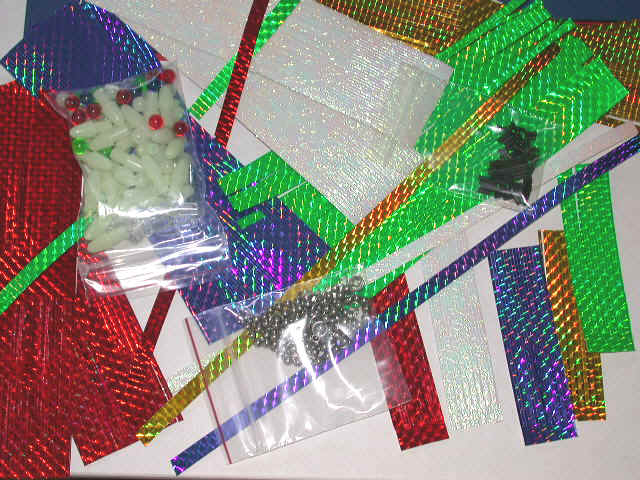
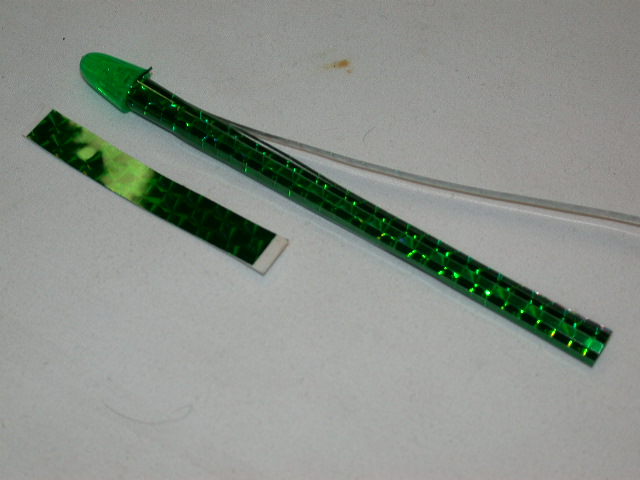
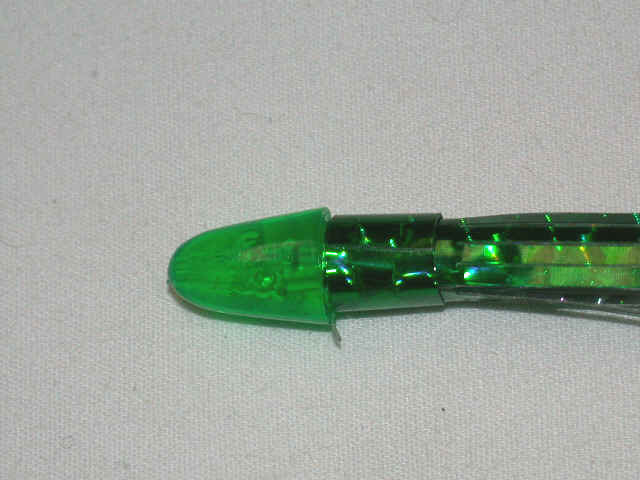
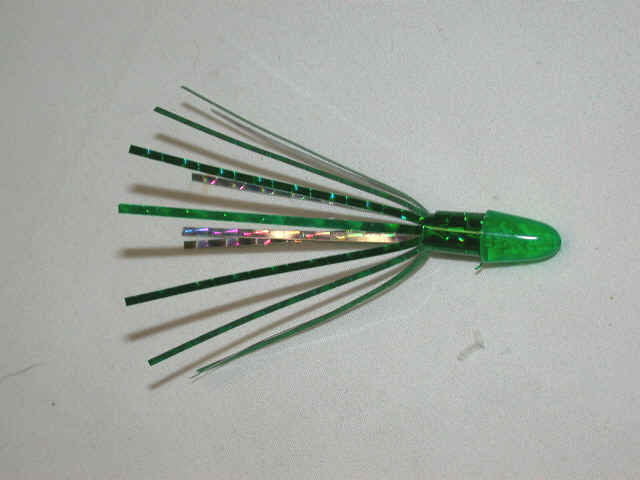
1.
Dividing the Mylar that already has the double faced adhesive. 2. Two pieces of fringe tape, soon to be four, you'll need to peel off this backing. 3 . Enough material to do 4 attractor flies 4. Circumference of bullet is 3/4, DO NOT precut the Mylar fringe to this size. |
 |  |  |  |
|
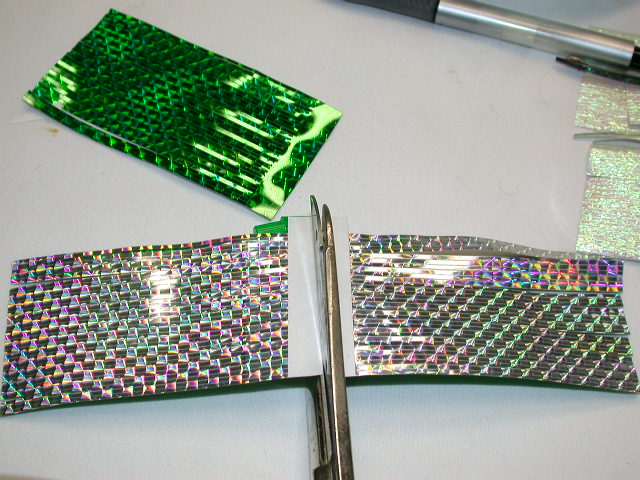
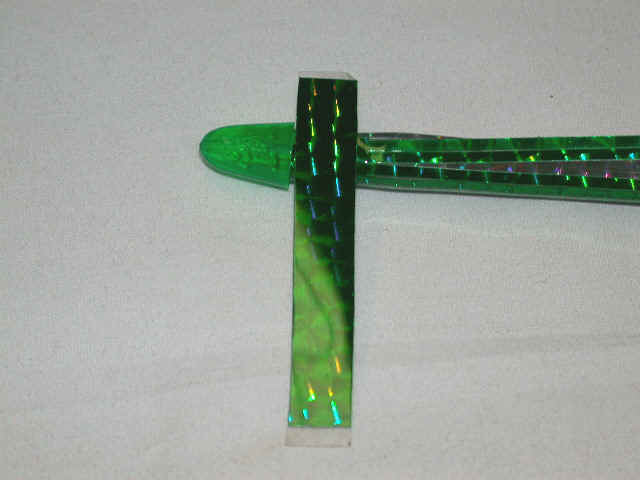
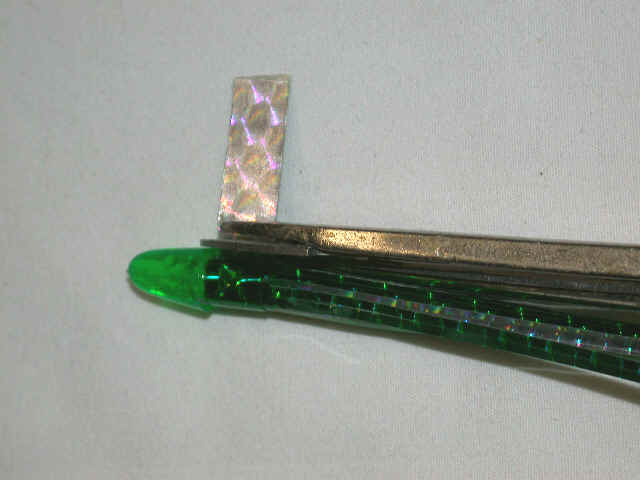
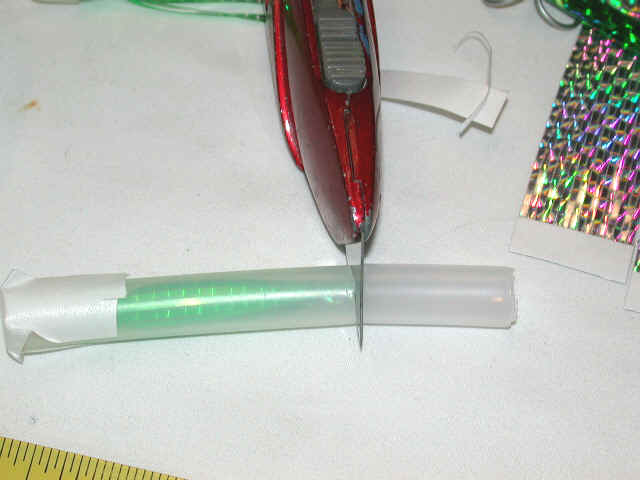
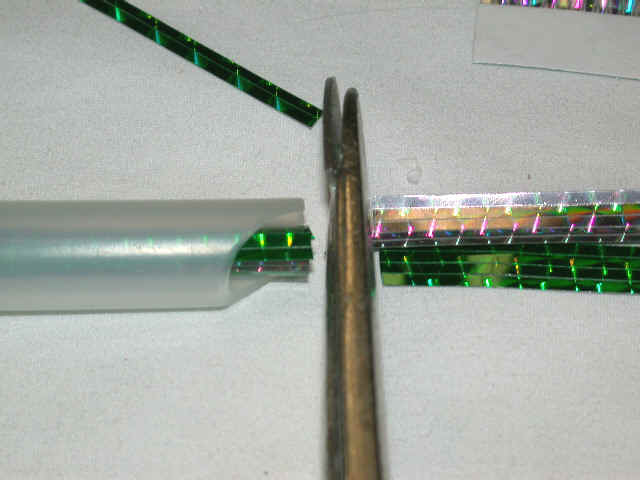
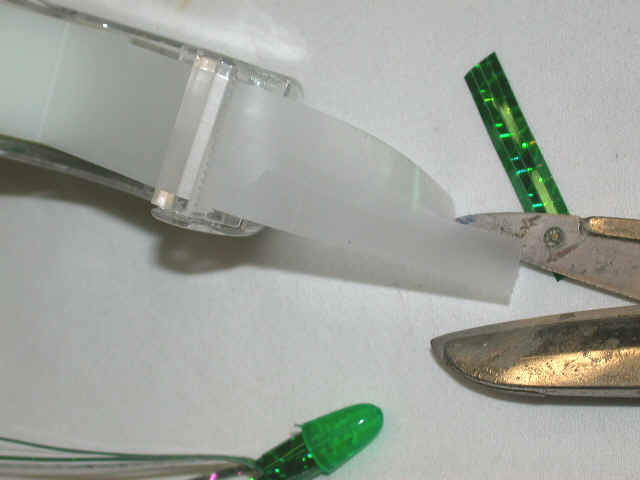
5.
After removing the white paper on the Mylar, wrap the Mylar around the head. Exactly where the material meets, trim with a sharp pair of scissors 6. Starting to wrap collar tape completely around the bullet head & installed Mylar 7. Wrap so the collar tape overlaps, you'll need slightly over an inch. 8. Completely wrapped collar tape.....as fly is beginning to take form |
 |  |  |  |
|
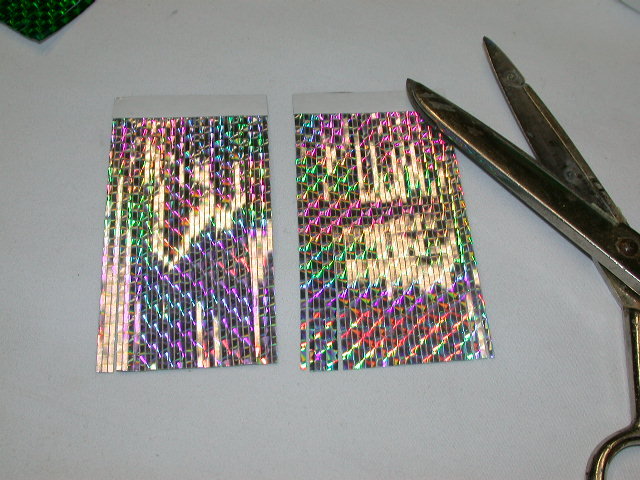
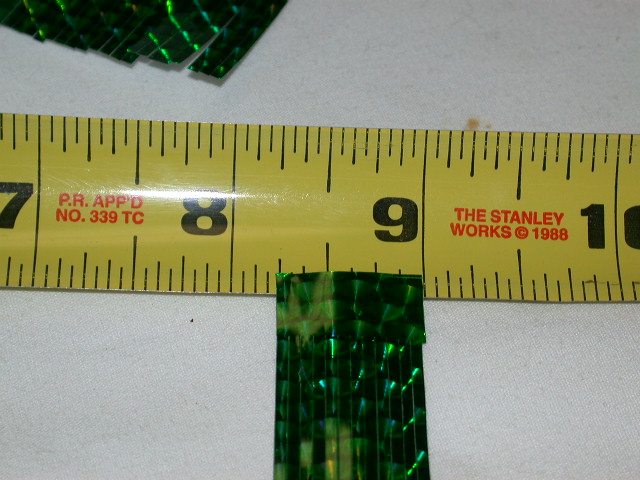
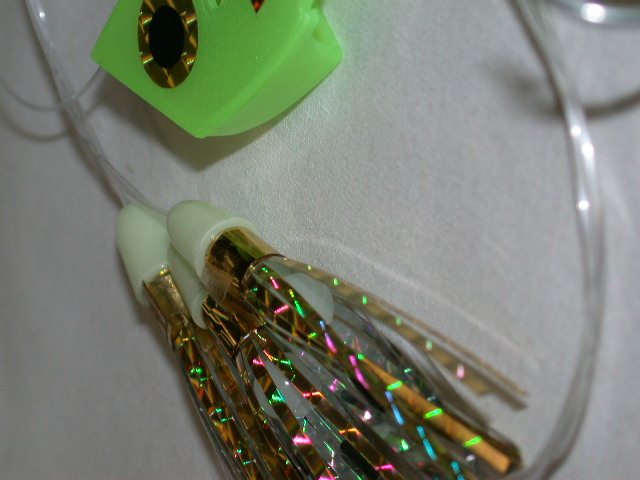
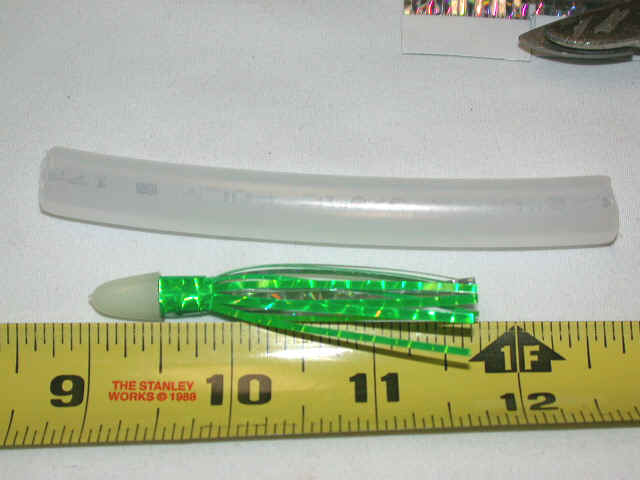
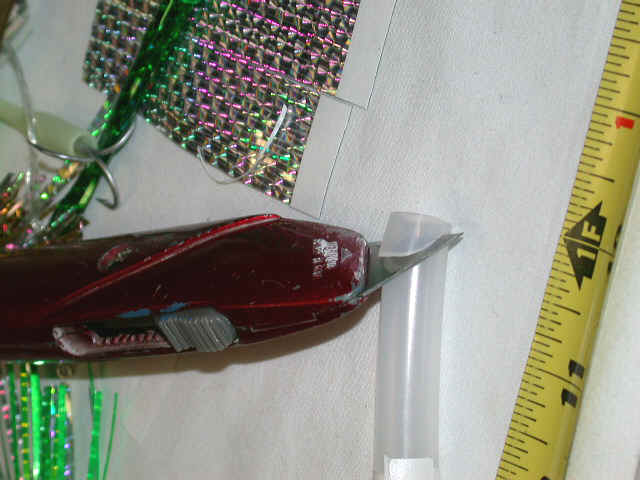
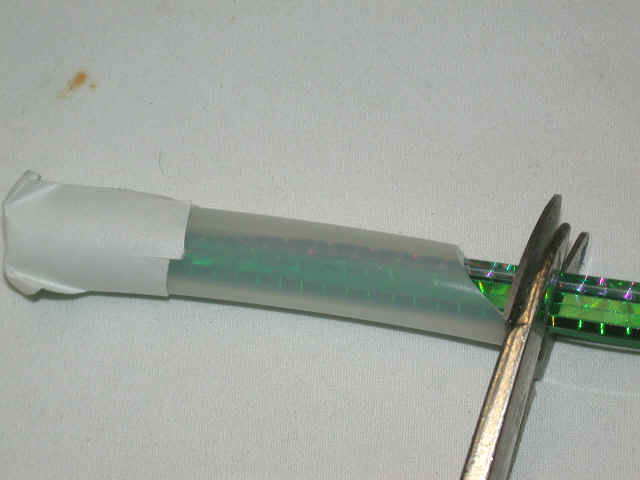
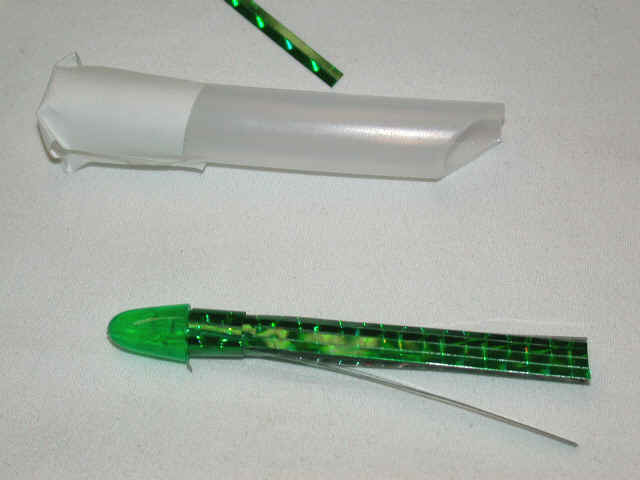
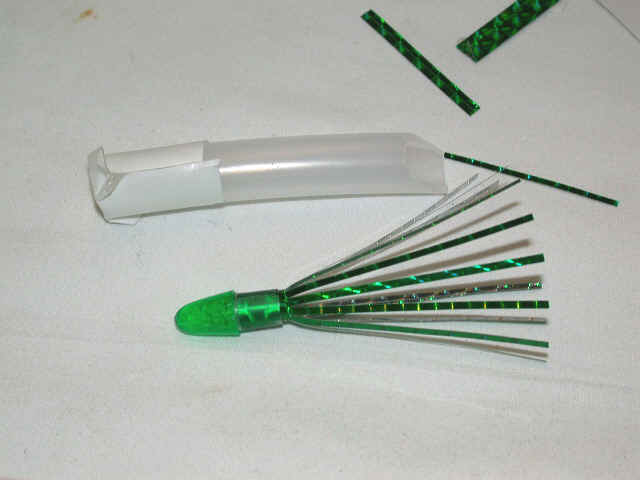
9.
Look closely at this photo. This is a "stock in the package" brand new twinkie fly, it's starting to separate slightly, with some double-faced tape stuck on it. This will not happen if you wrap the collar tape with an overlay of scotch-tape. 10. Overall length is around 2 3/4 inches and this photo features your guide tool for making all your flies the same length. I prefer 3 inches from the tip of the bullet head to the end of the fly, many use 2 1/2 inches too. So, use the length your like. 11. Tape over one of the measuring tool. Trim off at what you want the length of the fly to be ( 2 & 3/4 inches). Please keep in mind this is not rocket science and a little shorter, or a little longer is perfectly is O.K. 12. Trim cutting guide tool to preferred distance. Although you'll have to trim this tubing to size, it will insure a pro job in all flies being uniform. |
 |  |  |  |
|
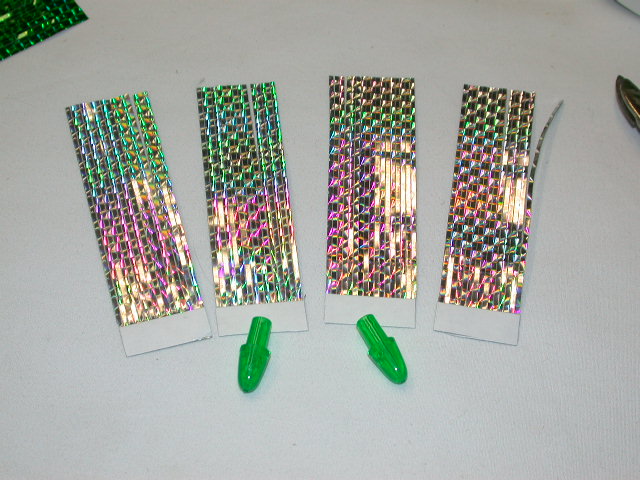
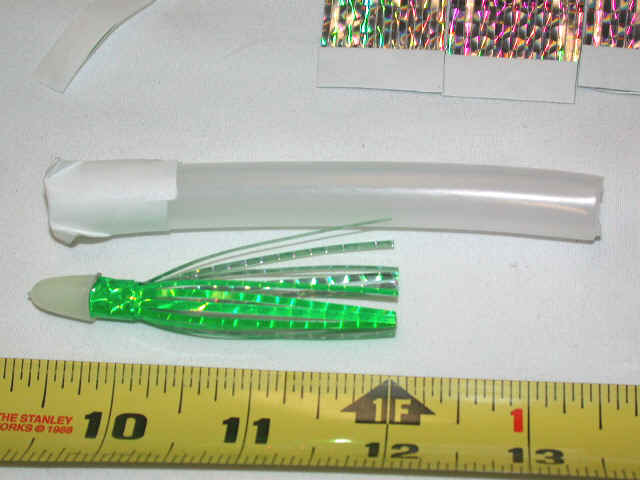
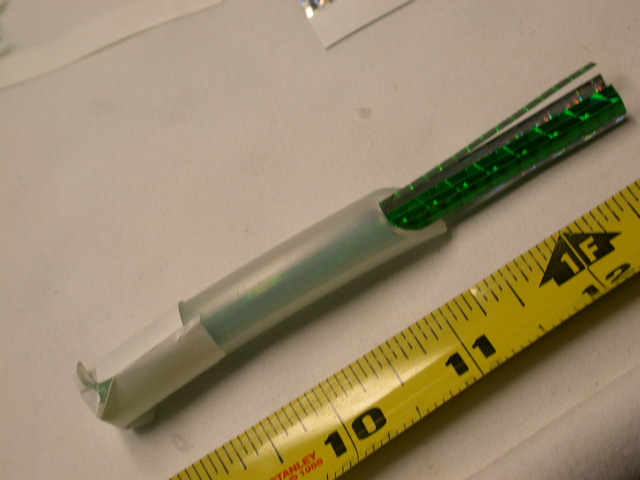
13.
I trim the cutting tool at a 45 degree angle, this is optional. 14. Overall measurement of my cutting tool is 2 & 3/4 inches 15. Trim attractor fly to the correct length 16. Snipped off Mylar fringe tape |
 |  |  |  |
|
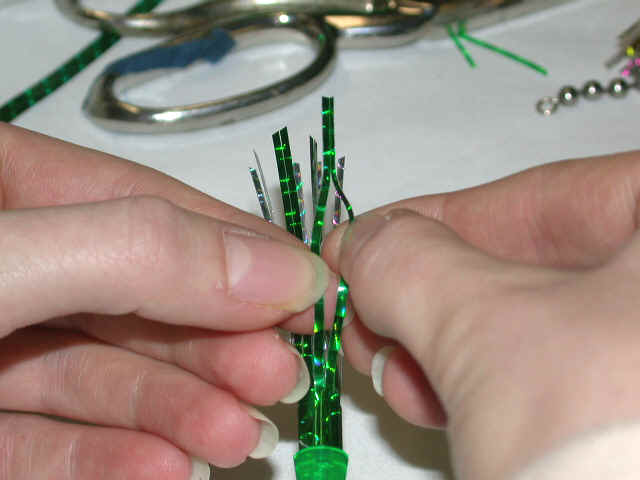
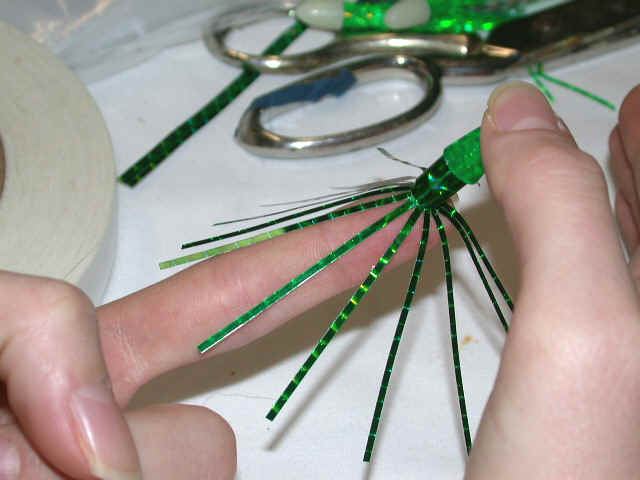
17.
Trimmed fly removed from measuring tube 18. Pull the fringe apart 19. Blouse out the skirt 20. Almost done fly, but one last step remains |
 |  |  |  |
|
21.
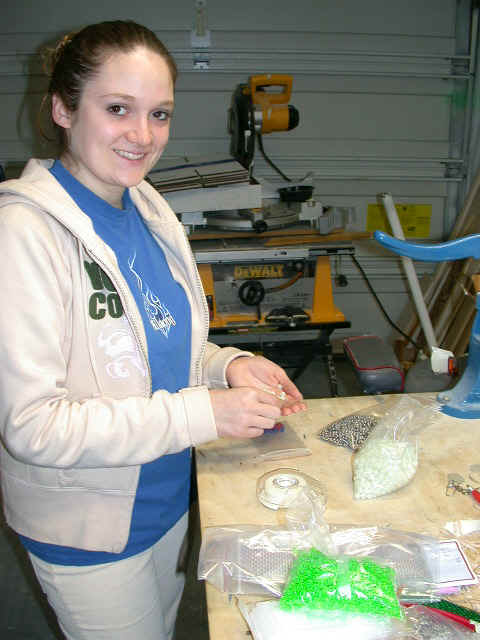
Trim a 1/4 inch piece of scotch tape about an 1 & 1/4 inches long. 22. Wrap the scotch tape around the collar and overlap a half a turn. 23. Finished attractor at a huge cost savings. 24. Many thanks to Michelle for assisting me with the photos |
Further Instructions
| 1. Spacing is 11 inches, hence: 11 inches from the bead chain to the next fly, and so on.
Now, the 11 inches is only spacing between the flies and, or front
crimp. Recommended spacing to the meat head is 14 to 16 inches
from the last fly. This extra distance frees up the full looping action of the Mag Meat Head. 2. Use a swivel as a stopper at the 3rd fly and not a crimp. By doing so, you'll able to re-leader the
13 inch distance from the meat head to the last, or 3rd fly. Swivels, bead
chains, crimps are available in my hardware kit. 4. A simple clinch-knot is the easiest to tie, I use a Trilene knot and moisten 5. Use Cortland's "Bite Guard" Hard Mono to make your meat rigs. This special leader material holds up far better than any regular mono line we tried. 6. The collar Mylar collar, or over-wrap tape adds a finished professional look. Then to keep the collar tape from lifting, use a 1/4' piece of clear (non-frosty) Scotch Tape. This 1/4" specially cut clear tape is available in my hardware kit. 7. This is not rocket surgery, or brain science. A little off here, or there ain't gonna make one iota's difference to the fish! 8. Make sure your skirts are bloused out and separated, especially before you set lines. By not having the Mylar pinched against the leader, this frees up your meat head. 9. There is no wrong way to do this, so don't worry about a inch here, or a 1/4 of an inch there. The fish do not carry a measuring tape. |
Do not copy, print-out or reproduce material of any kind from this site
without expressed written permission from
MichiganSportsman Copyright©2000-2005